

Here are some "do-it-yourself" ideas for YOUR next special occassion.

You will need:
- ivory cardstock (mine has a simple, yet elegant, embossed border)
- 1 chisle (caligraphy) pen, black
- metallic paint pens: silver
for shadowing script, and three other harmonizing shades (shown here are green, purple, and blue)
- poem (unless you would rather use your own words, as I chose to)
- pictures of example filigre to inspire you
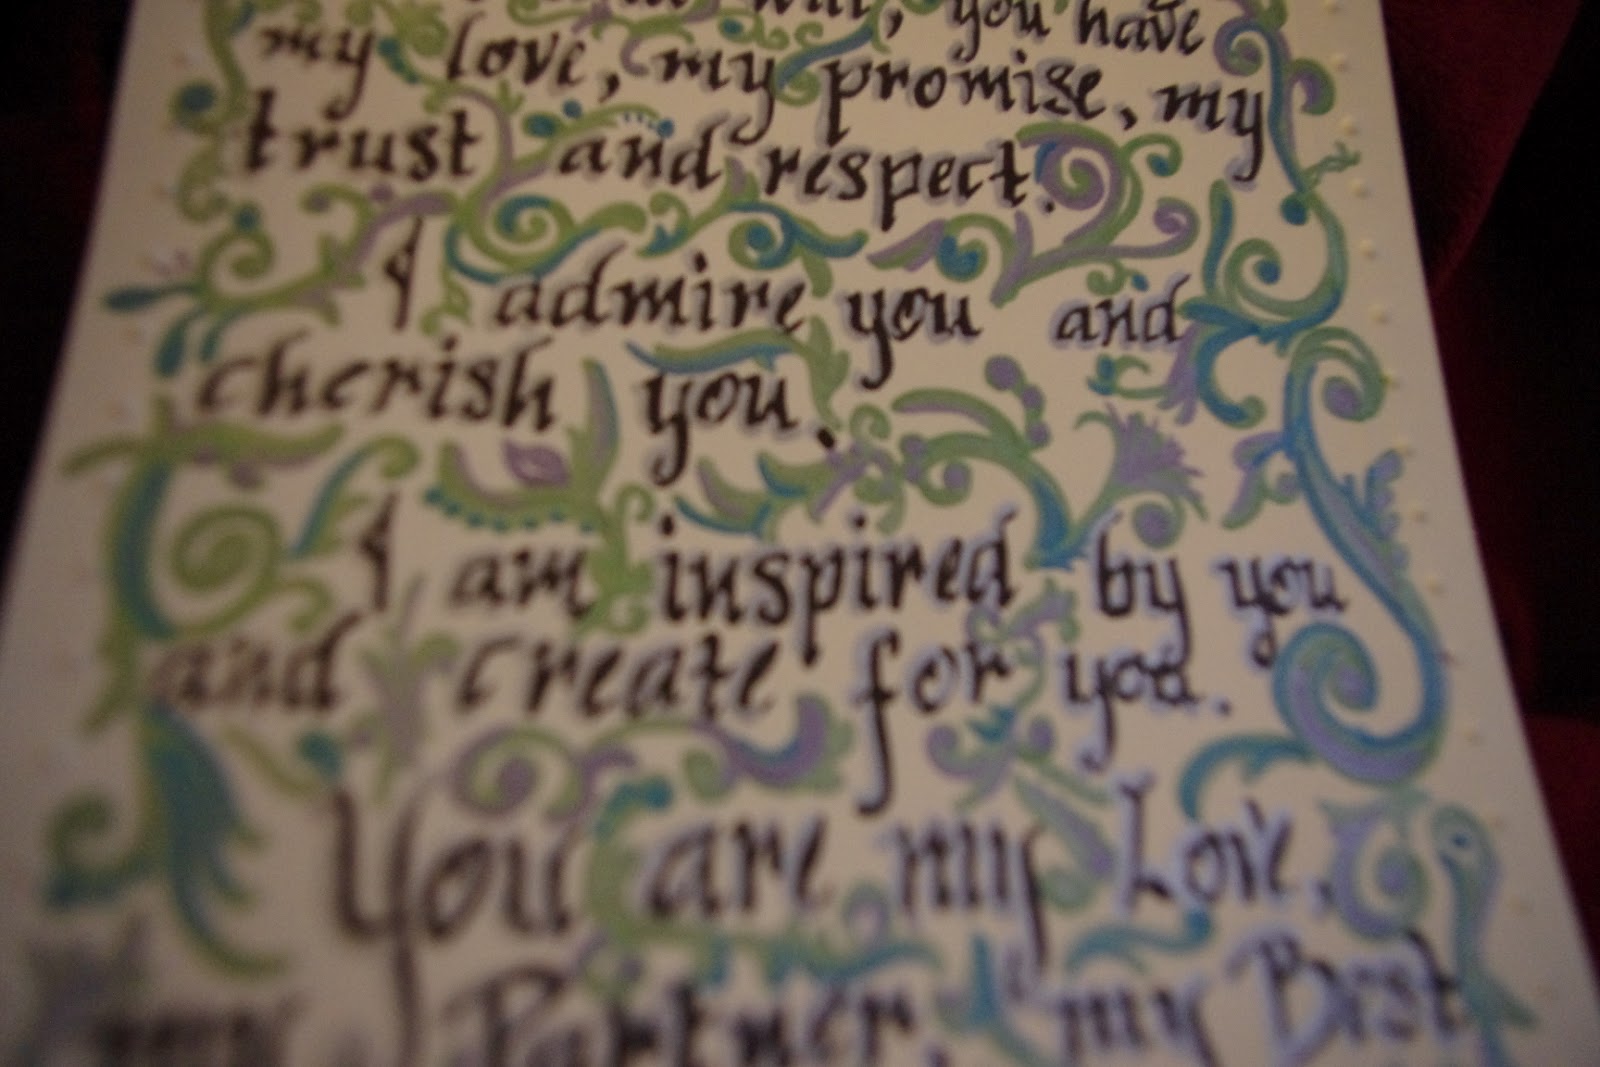
Next, use your filigre examples to help give you your inspiation for the shape and flow your hand drawn filigre on the card. Start with framing the card in filigre using your base color paint pen- mine was green. Framing the card first makes it easier to do the "fill" work between the lines afterwards.
Once you have filled in the card using the base color, go back and accent alternatively using the other two paint pen colors.
Lastly, take yout silver paint pen and use it to lightly add shading to the letters. This gives a great finishing touch to the card.
-----------------------------------------------------------------------

For this, I was really short on time and even used a brownie mix instead of from scratch.
You will need:

- brownies, from scratch or a mix, baked in a thin layer and cooled
- a least one large and one medium to small sized heart shaped cookie cutter
- raspberries, strawberries, or the fruit of your choice- fresh or frozen
- ice cream of your choice, i like plain bourbon vanilla with these
First, use your cookie cutters and cut out your pan of brownies, making sure that you have an equal number of large and small cut outs ( you will be stacking them later. I only made three stacked cakes, so I cut out the rest of the pan using various other heart themed cutters.)


Next, using a spatcula and knife, clear away excess around your cut outs and stack brownie cakes- smaller on top of larger cut out.


After stacking the cut outs, heat your berries, or other fruit and drizzle over the top-

Make small ice cream balls and add on top, and "THERE YA ARE!" Güten Appetit and enjoy!
No comments:
Post a Comment